This article explains how to set default verification services so the same checks are preselected each time you send a verification request.
Default services save you from selecting the same checks for every request. You can still change the selection before sending any individual request.
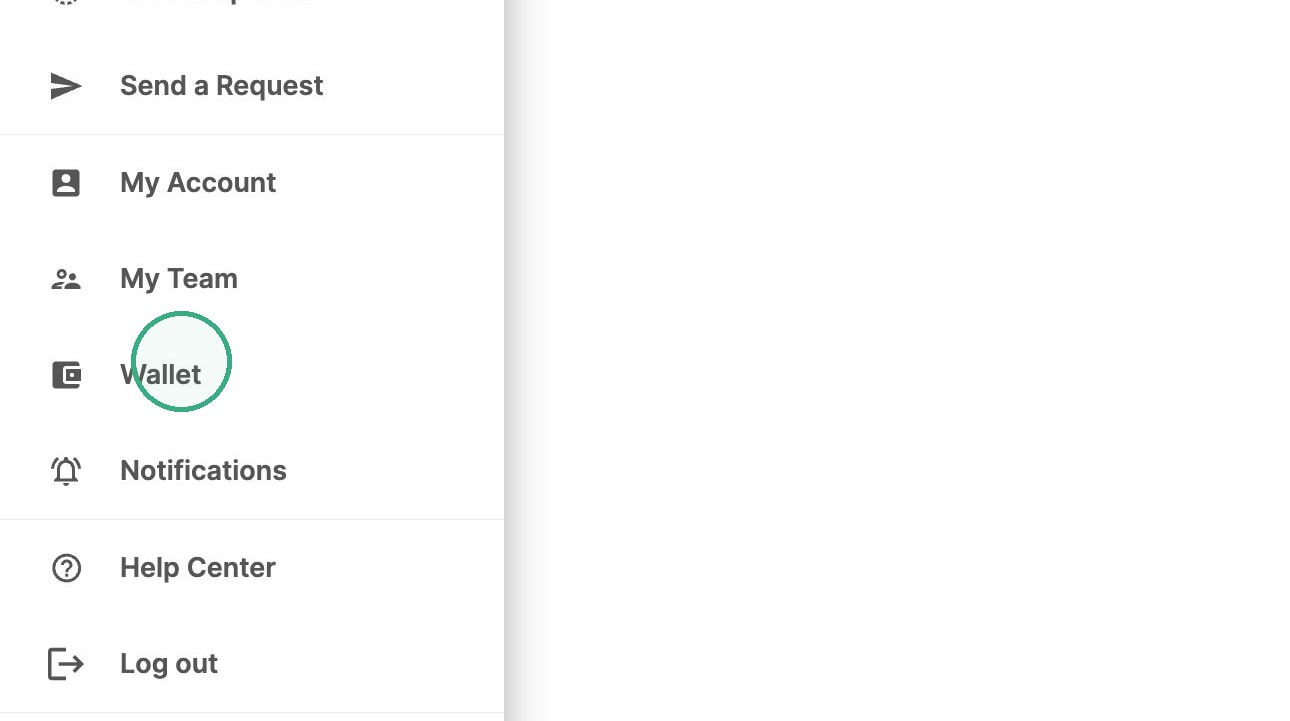
1. Open your menu and click on Wallet.
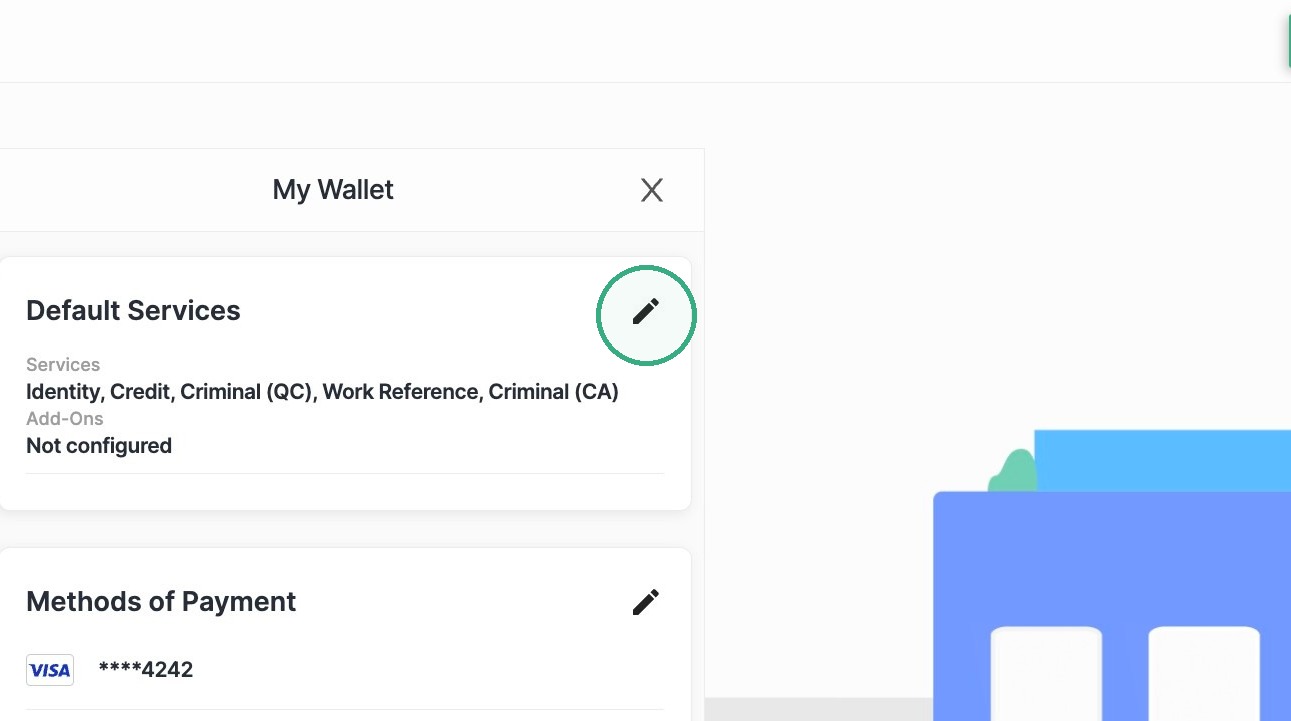
2. Click on the pencil icon next to Default Services.
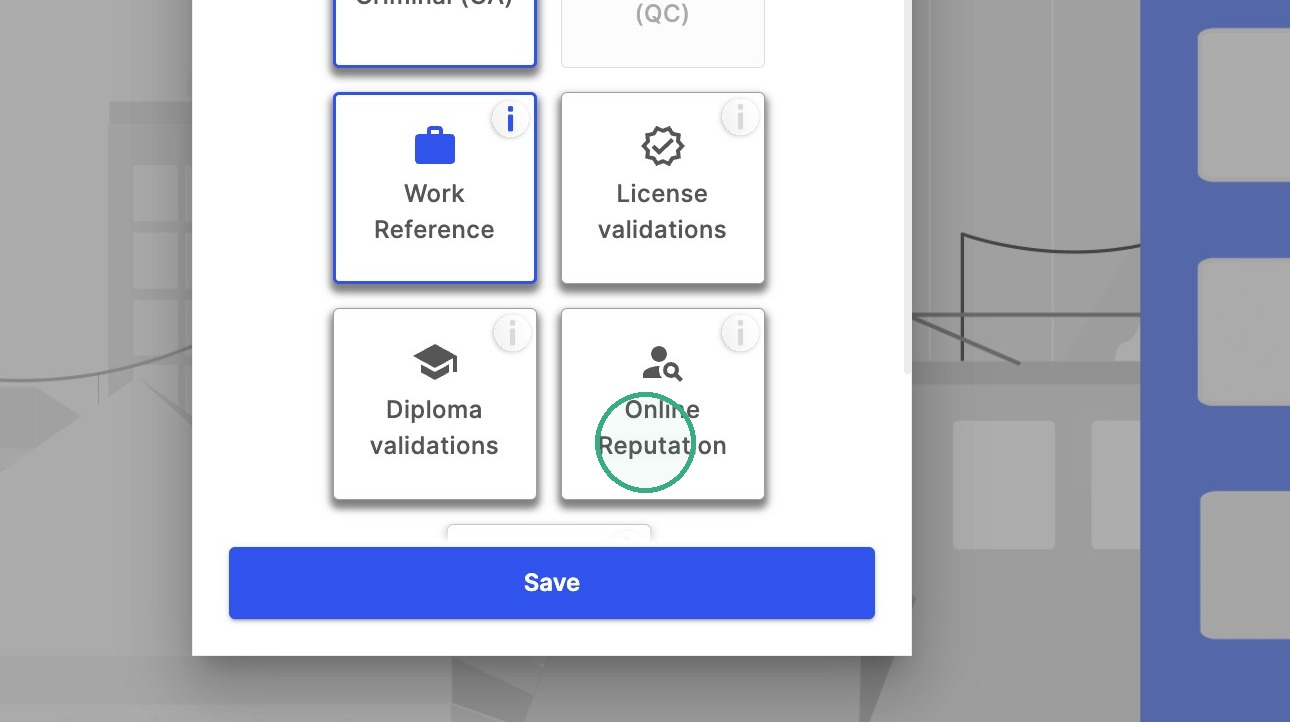
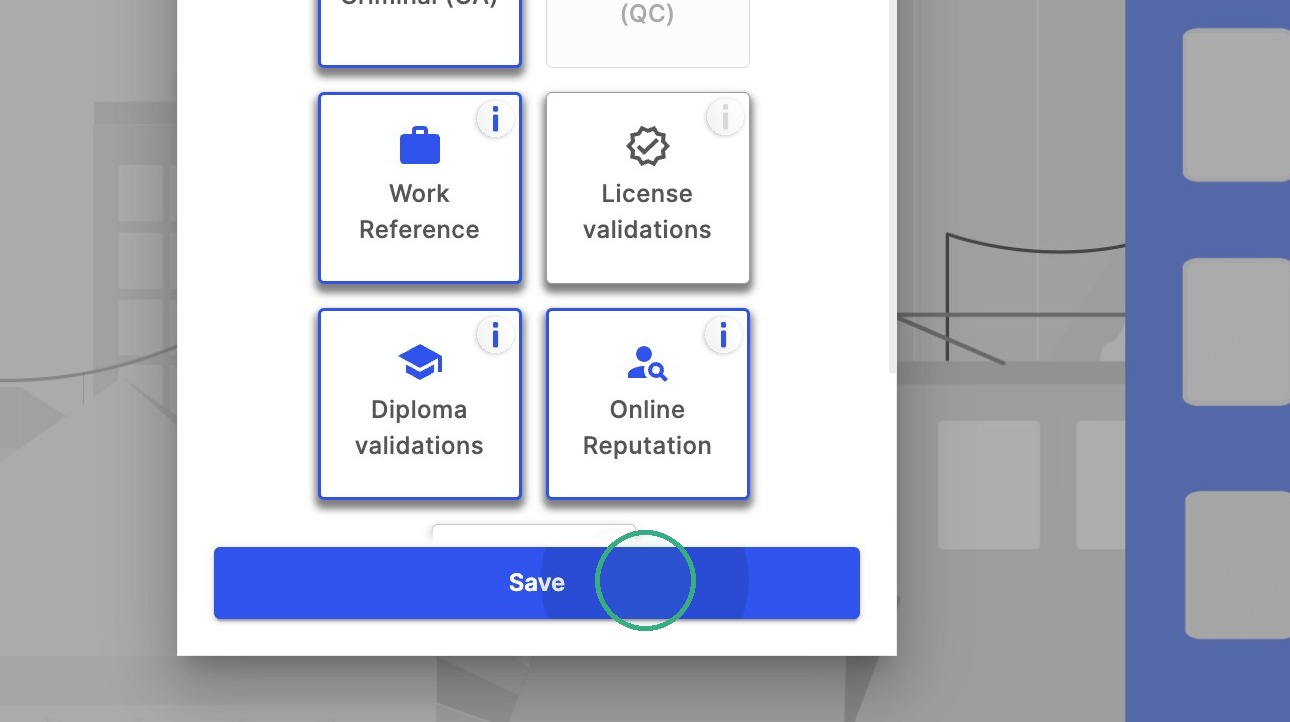
3. Select the services you want preselected for future verification requests.
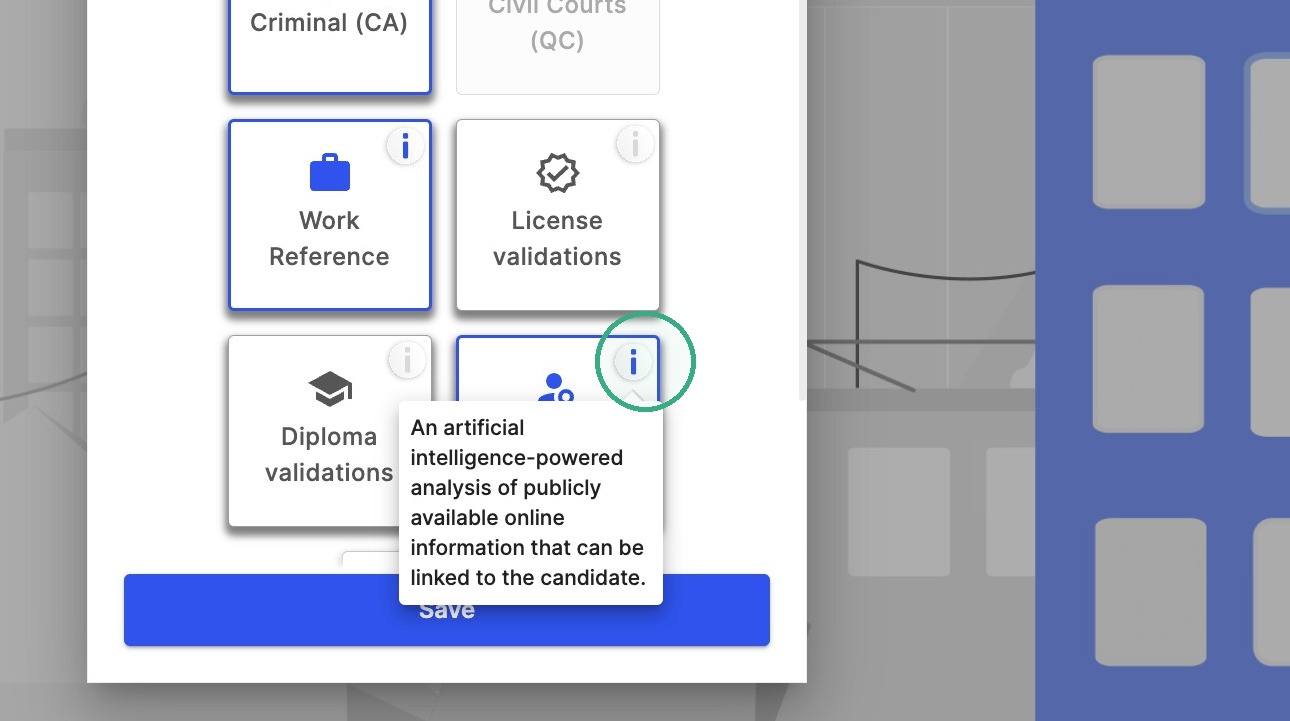
Note: If you need more information before selecting the service, you can click on the information button located in the top right corner of each service box.
4. Click Save.
Was this article helpful?
That’s Great!
Thank you for your feedback
Sorry! We couldn't be helpful
Thank you for your feedback
Feedback sent
We appreciate your effort and will try to fix the article